Basic features: First experiment tutorial
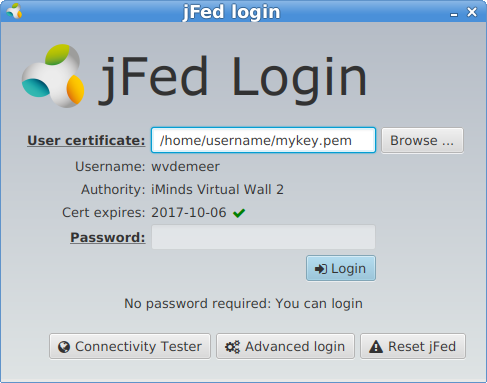
Logging in
There a 2 basic methods to log into jFed.
You can login directly, using a button on the site that provided your account. jFed might will ask your account info (only on first login).
Or you can start jFed, open the certificate file you downloaded, provide your password and press the login button.
After you login for the first time, a dialog box will pop up to say that you have to configure jFed for this initial run. You do typically do not need to make any changes, but it might be good to check out some settings.
Check Windows Preferences

In this preferences settings you should point jFed to the PuTTY installation directory (see putty). You should see all green checkmarks. If not, then please install PuTTY from here: http://the.earth.li/~sgtatham/putty/latest/x86/putty-0.64-installer.exe.
Click on Use pageant to manage SSH keys to enable the PuTTY ssh agent which makes that you only once have to type the passphrase on your ssh key.
Click Save at the bottom right to save these settings.
Check Unix/Mac Preferences
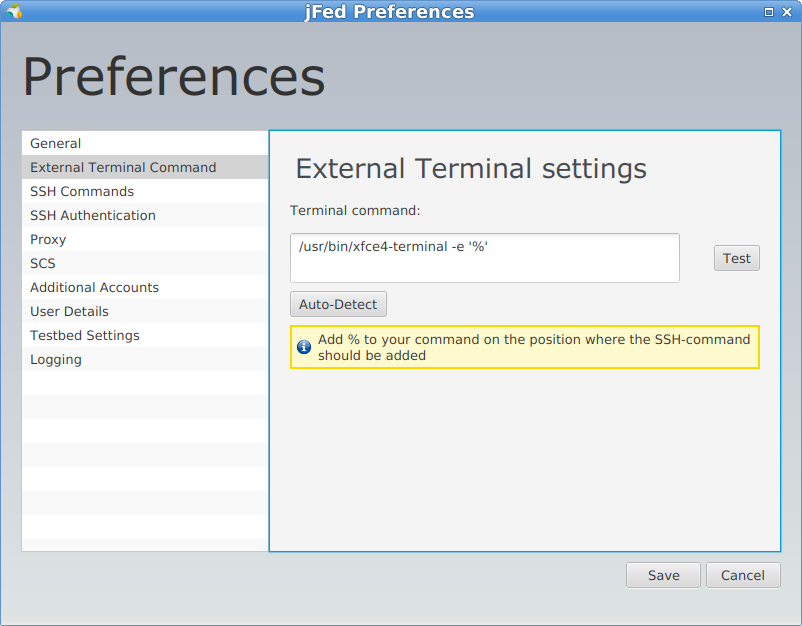
In this preferences settings, jFed should have a reasonable terminal configuration, so only change the default if it doesn’t work when logging in.
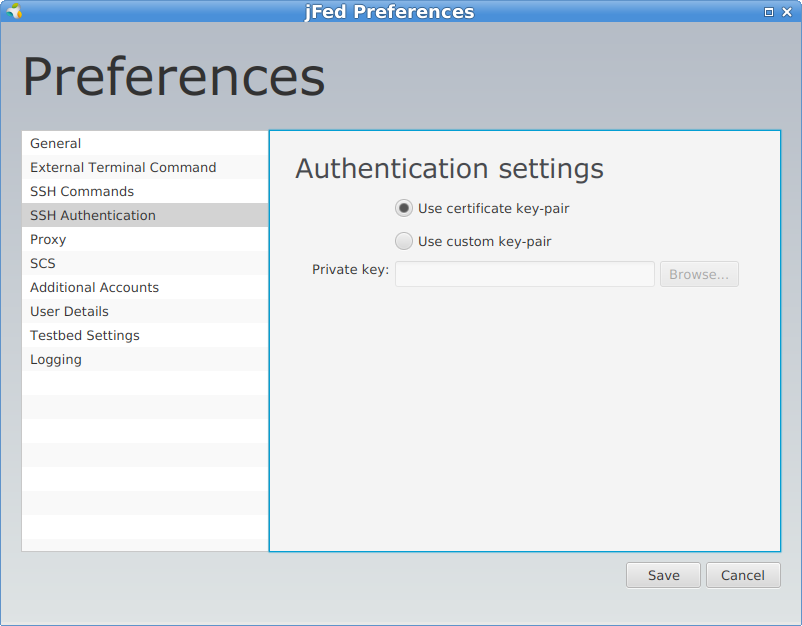
Secondly, you can click Use custom key-pair and point jFed to a private and public SSH key you have saved on your PC.
Click Save at the bottom right to save these settings.
Create your first experiment
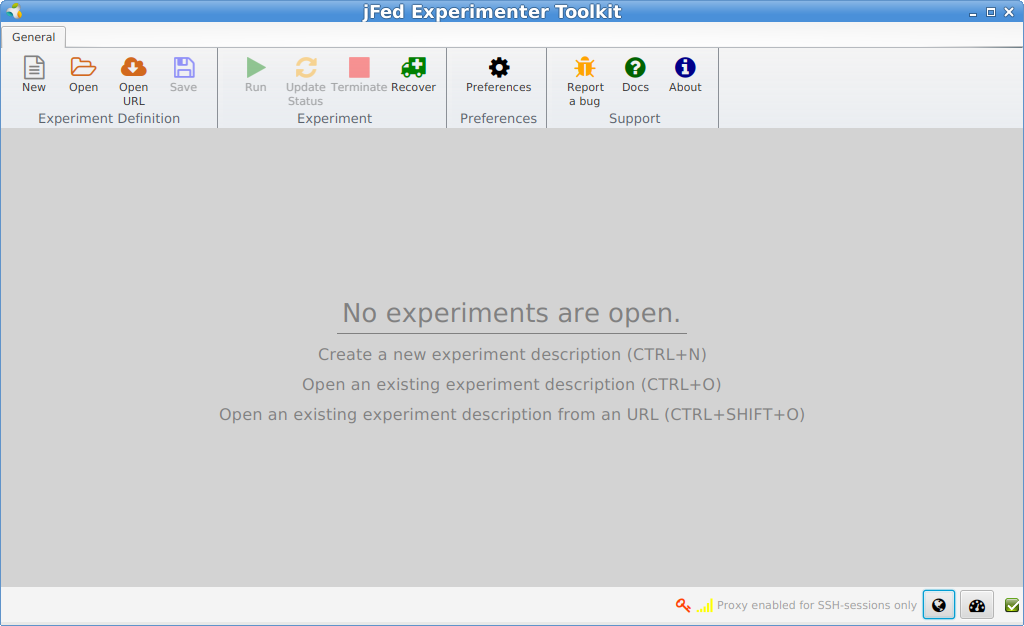
When you have logged in, and checked your preferences, you see jFed with no experiments loaded.
When you click New, you get a blank canvas where you can draw your experiment. Let’s drag in a Generic node from the left side to the canvas.
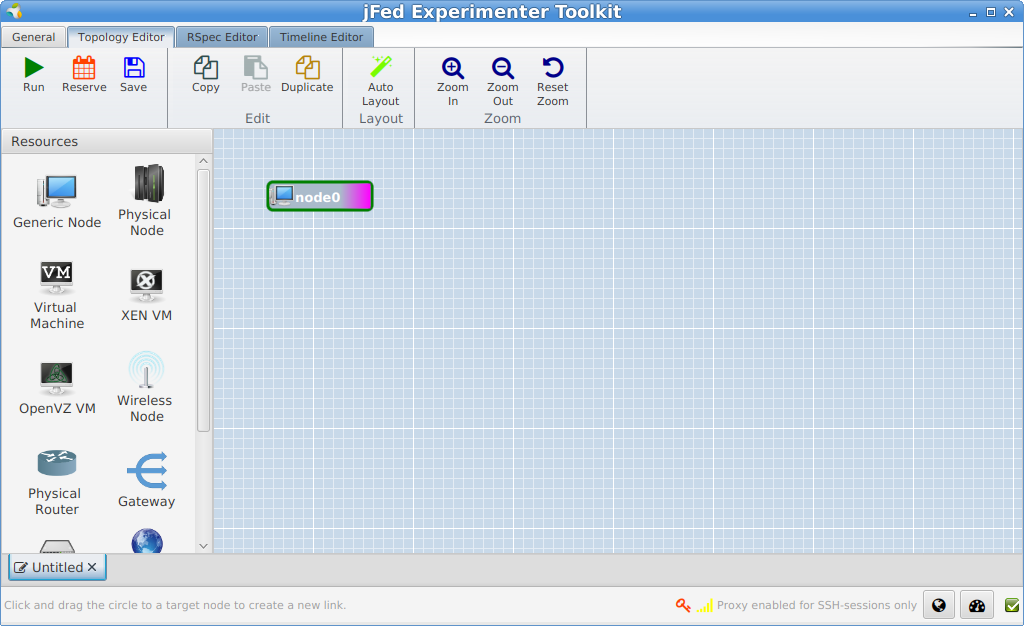
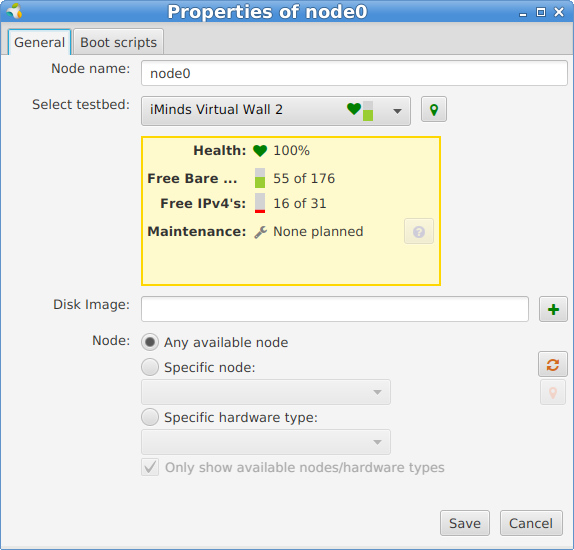
For more specific experiments you can right click and configure the node, but for now let it in the default settings.
Run the experiment
Let’s run this experiment, by clicking the tab General at the top, and then the Run button. We will now have to choose a name for the experiment (= slice name) and choose a maximum duration.

It will now take a couple of minutes to get the node prepared
Login on a node of the experiment
When the node becomes green, we can right click on the node, and click Open SSH terminal.
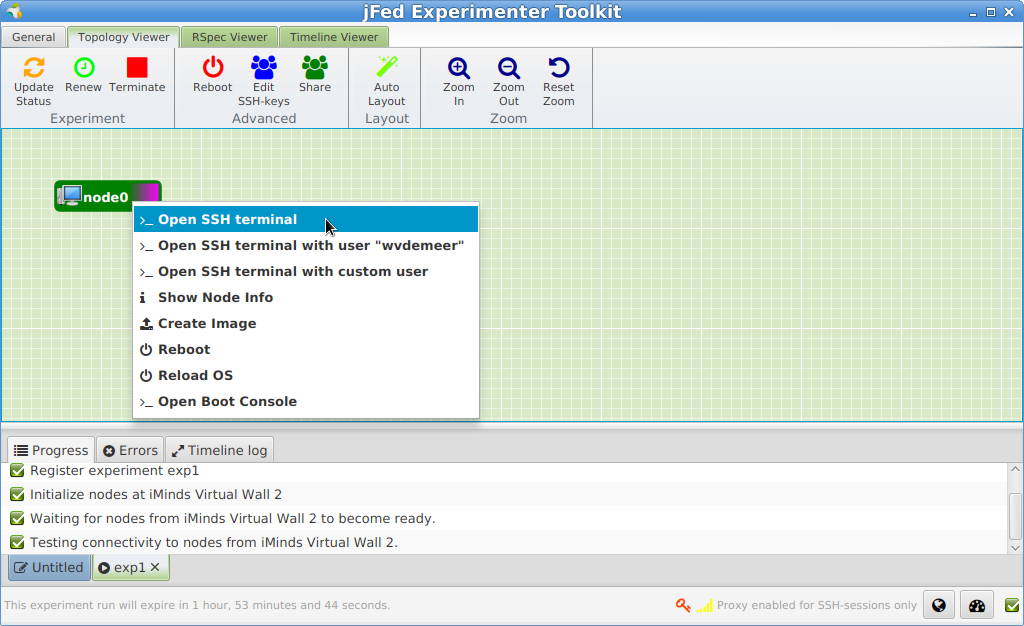
And then you should be automatically logged in. If the node says Key refused or another error it means something has gone wrong. See Note on connectivity.
Ending the experiment
To release your resources before the end time of your experiment, you can click the Terminate button at the top in jFed.
After that the nodes will become black and if your ssh connection is still open, you can see that the node will be shutdown.

Note on connectivity
As in Europe public IPv4 addresses are scarce, we have the following problems for getting connected to the nodes:
- testbeds as Virtual Wall or w-iLab.t are only accessible through IPv6
- testbeds as BonFIRE have only a limited number of public IPv4 addresses, which is minimal in relation to the number of virtual machines they run.
- other testbeds run only on private IPv4 address and should be accessed through a gateway node.
We are currently working around this in several ways, but for this first testrun now:
- the default node that was selected is at the Virtual Wall testbed (which is only accessible through IPv6).
- if you have IPv6 all will be okay and you will be able to login on the node.
- if you don’t have IPv6, then you can go to jFed preferences. Click
Run Proxy Testat the bottom right, And then clickAlwaysbesidesProxy for SSH connectionsfollowed bySave. You can now right click the node to login through SSH and you will be proxied through an IPv4 server. - if you don’t have IPv6, you can register for an IPv6 address and tunnel, e.g. at Sixxs (choose AYIYA tunnel) and install Aiccu.
- instead of a Generic node, you can draw a Virtual Machine on your canvas, and you can choose a Planetlab Europe node or a BonFIRE Virtual Machine with a public IPv4 address. for BonFIRE, you need an additional account (see bonfire).
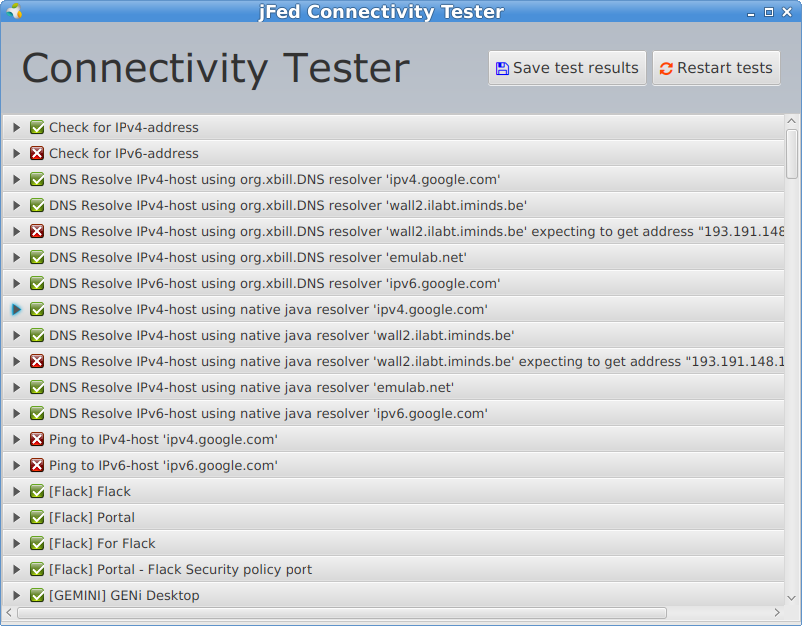
Test connectivity
You can test your connectivity with jFed by clicking the small globe button on the bottom.
And you will see a connectivity report:
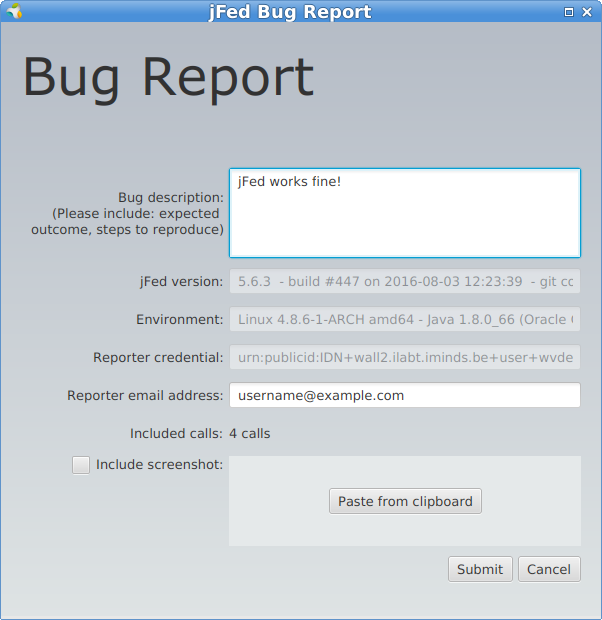
Bug report with jFed
In case you cannot get a green node on your canvas (e.g. at the bottom of jFed you see problems passing by), click the Report a bug button in jFed and fill in a bug report. This will send all relevant information on calls and connectivity to jFed staff, so they can investigate the problem and report back to you.
The reporter email address is standard filled in with your certificate email address and this is forwarded by the authority to your own email address, so you don’t have to change this.